Assignment 2:prototyping
In this page, I will be describing how I made my prototype phone stand using cardboard.
From the word "prototype", the phone stand that I made will not be that aesthetic but rather a usable piece.
1st step
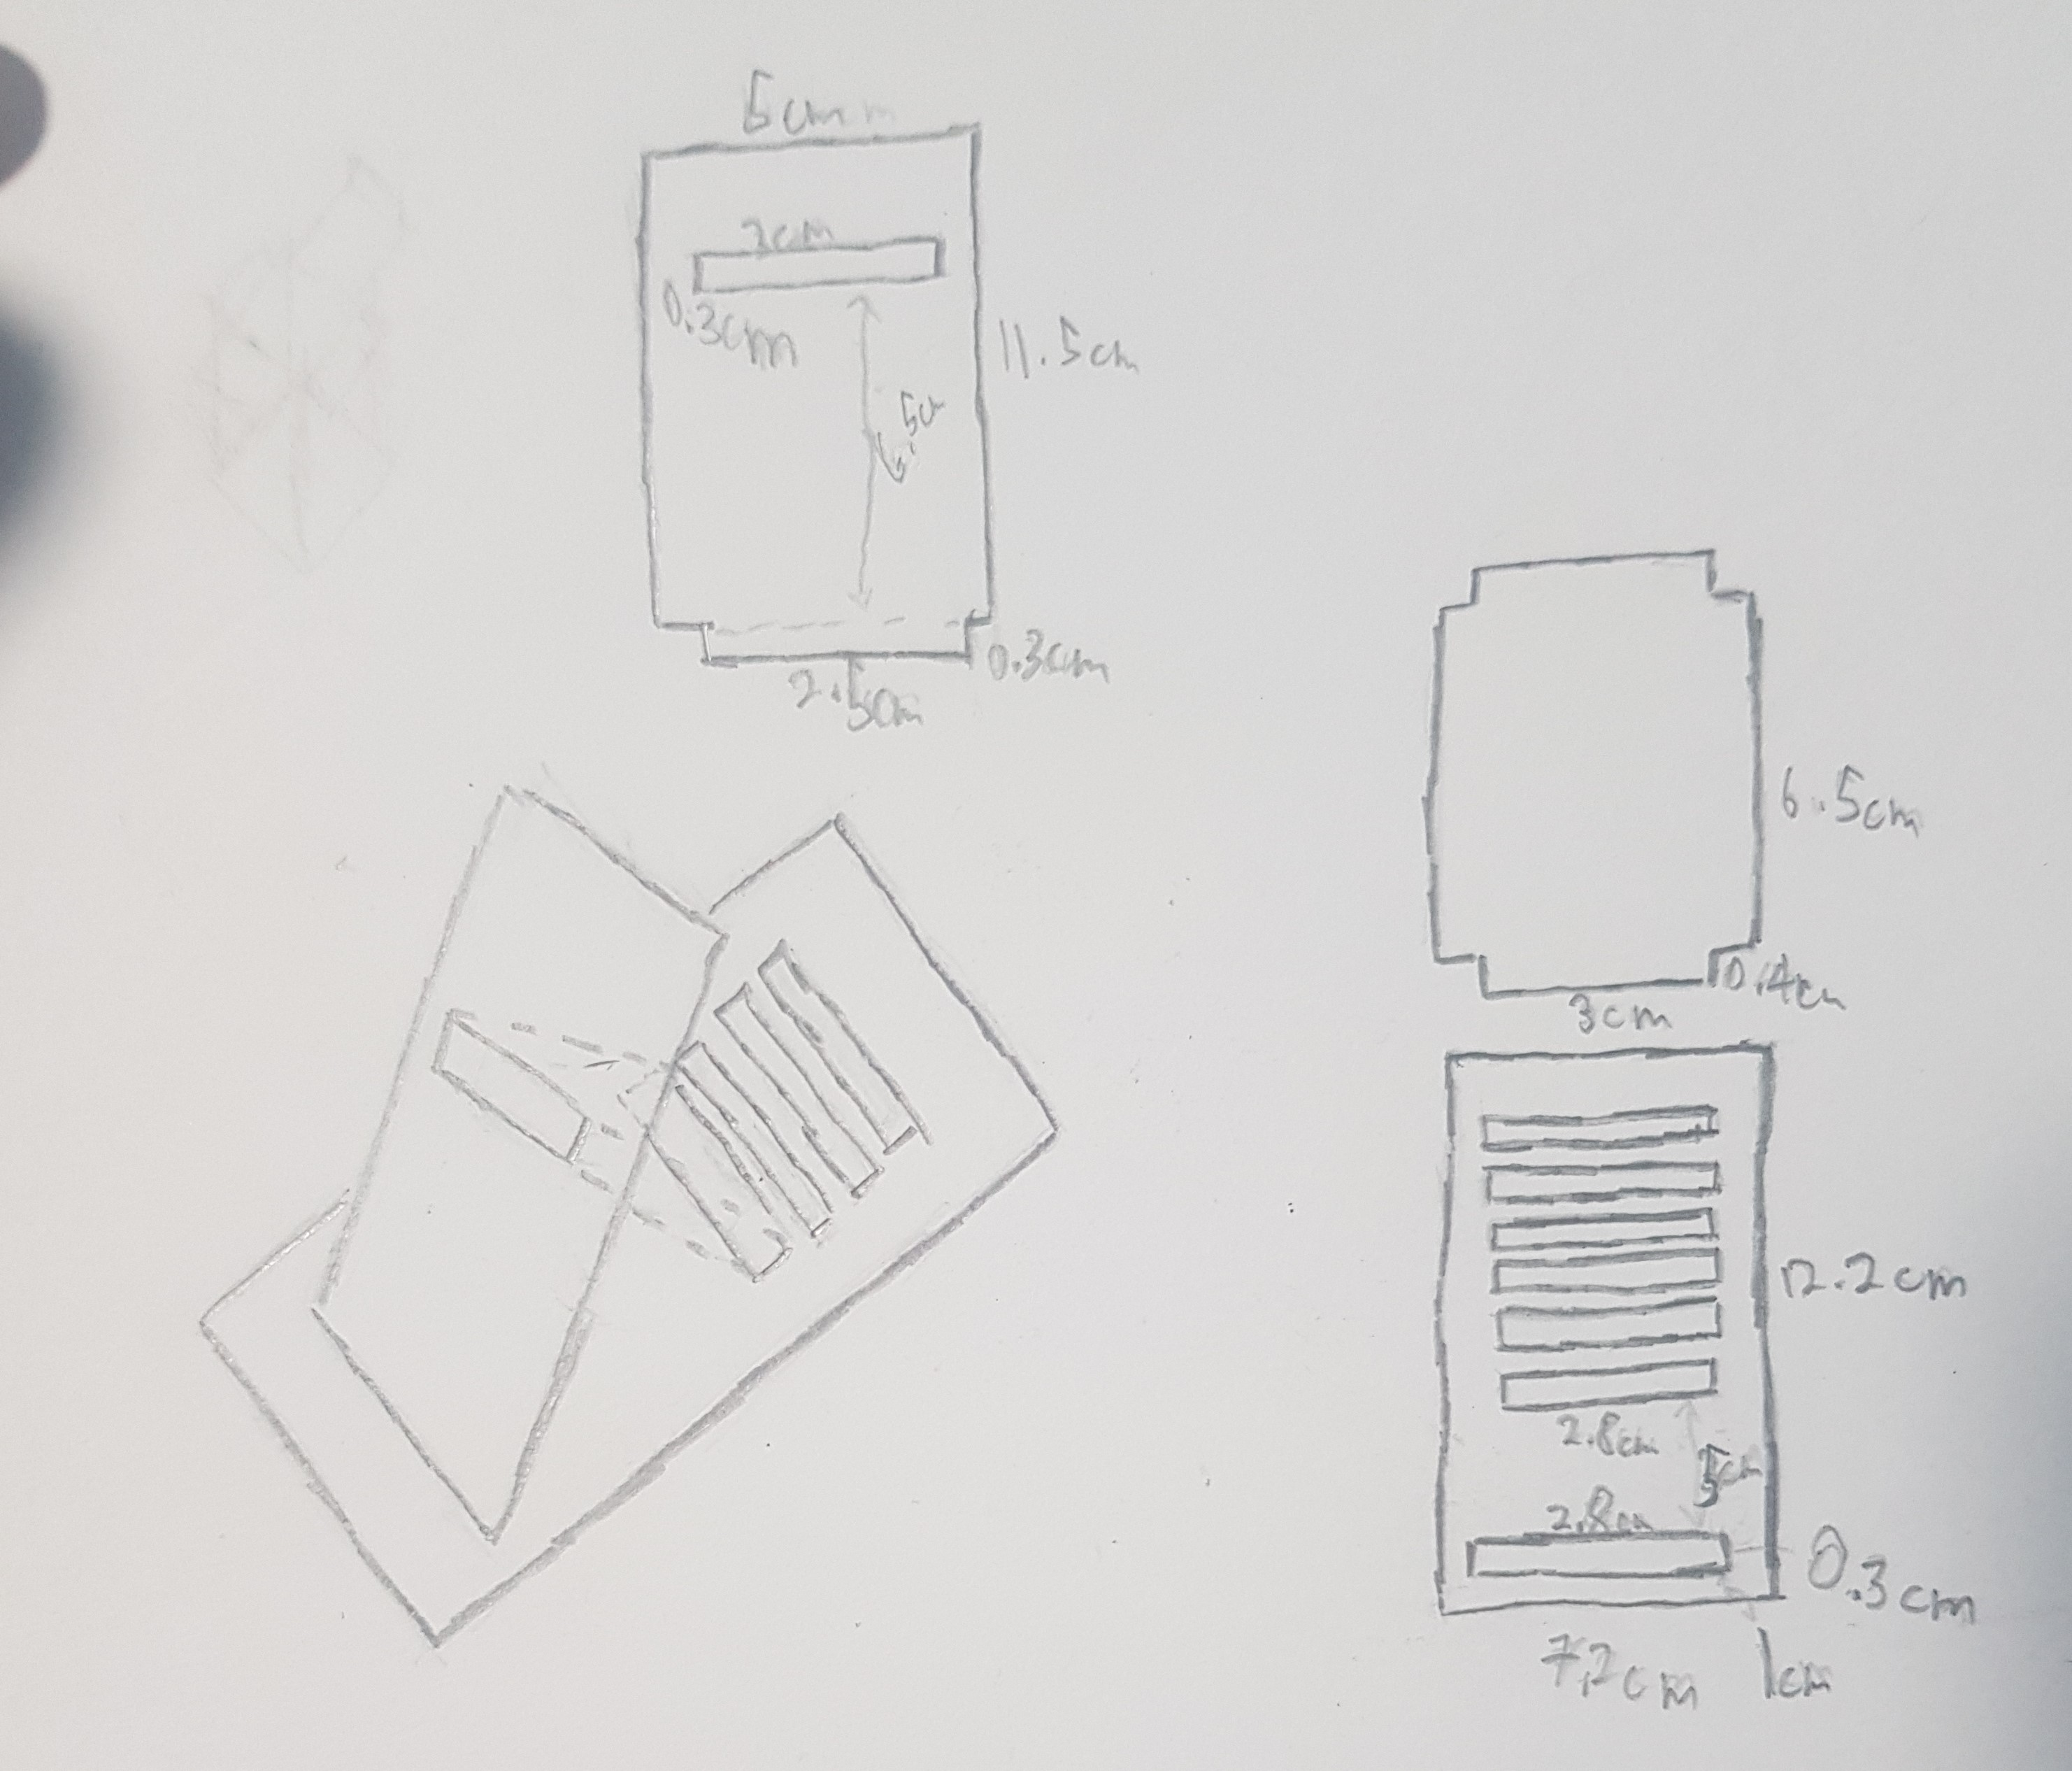
The first step is to sketch the model on a piece of paper. This is my sketch.
- try a rough sketch first before going to the final sketch
- make sure to label the length of your model
2nd step
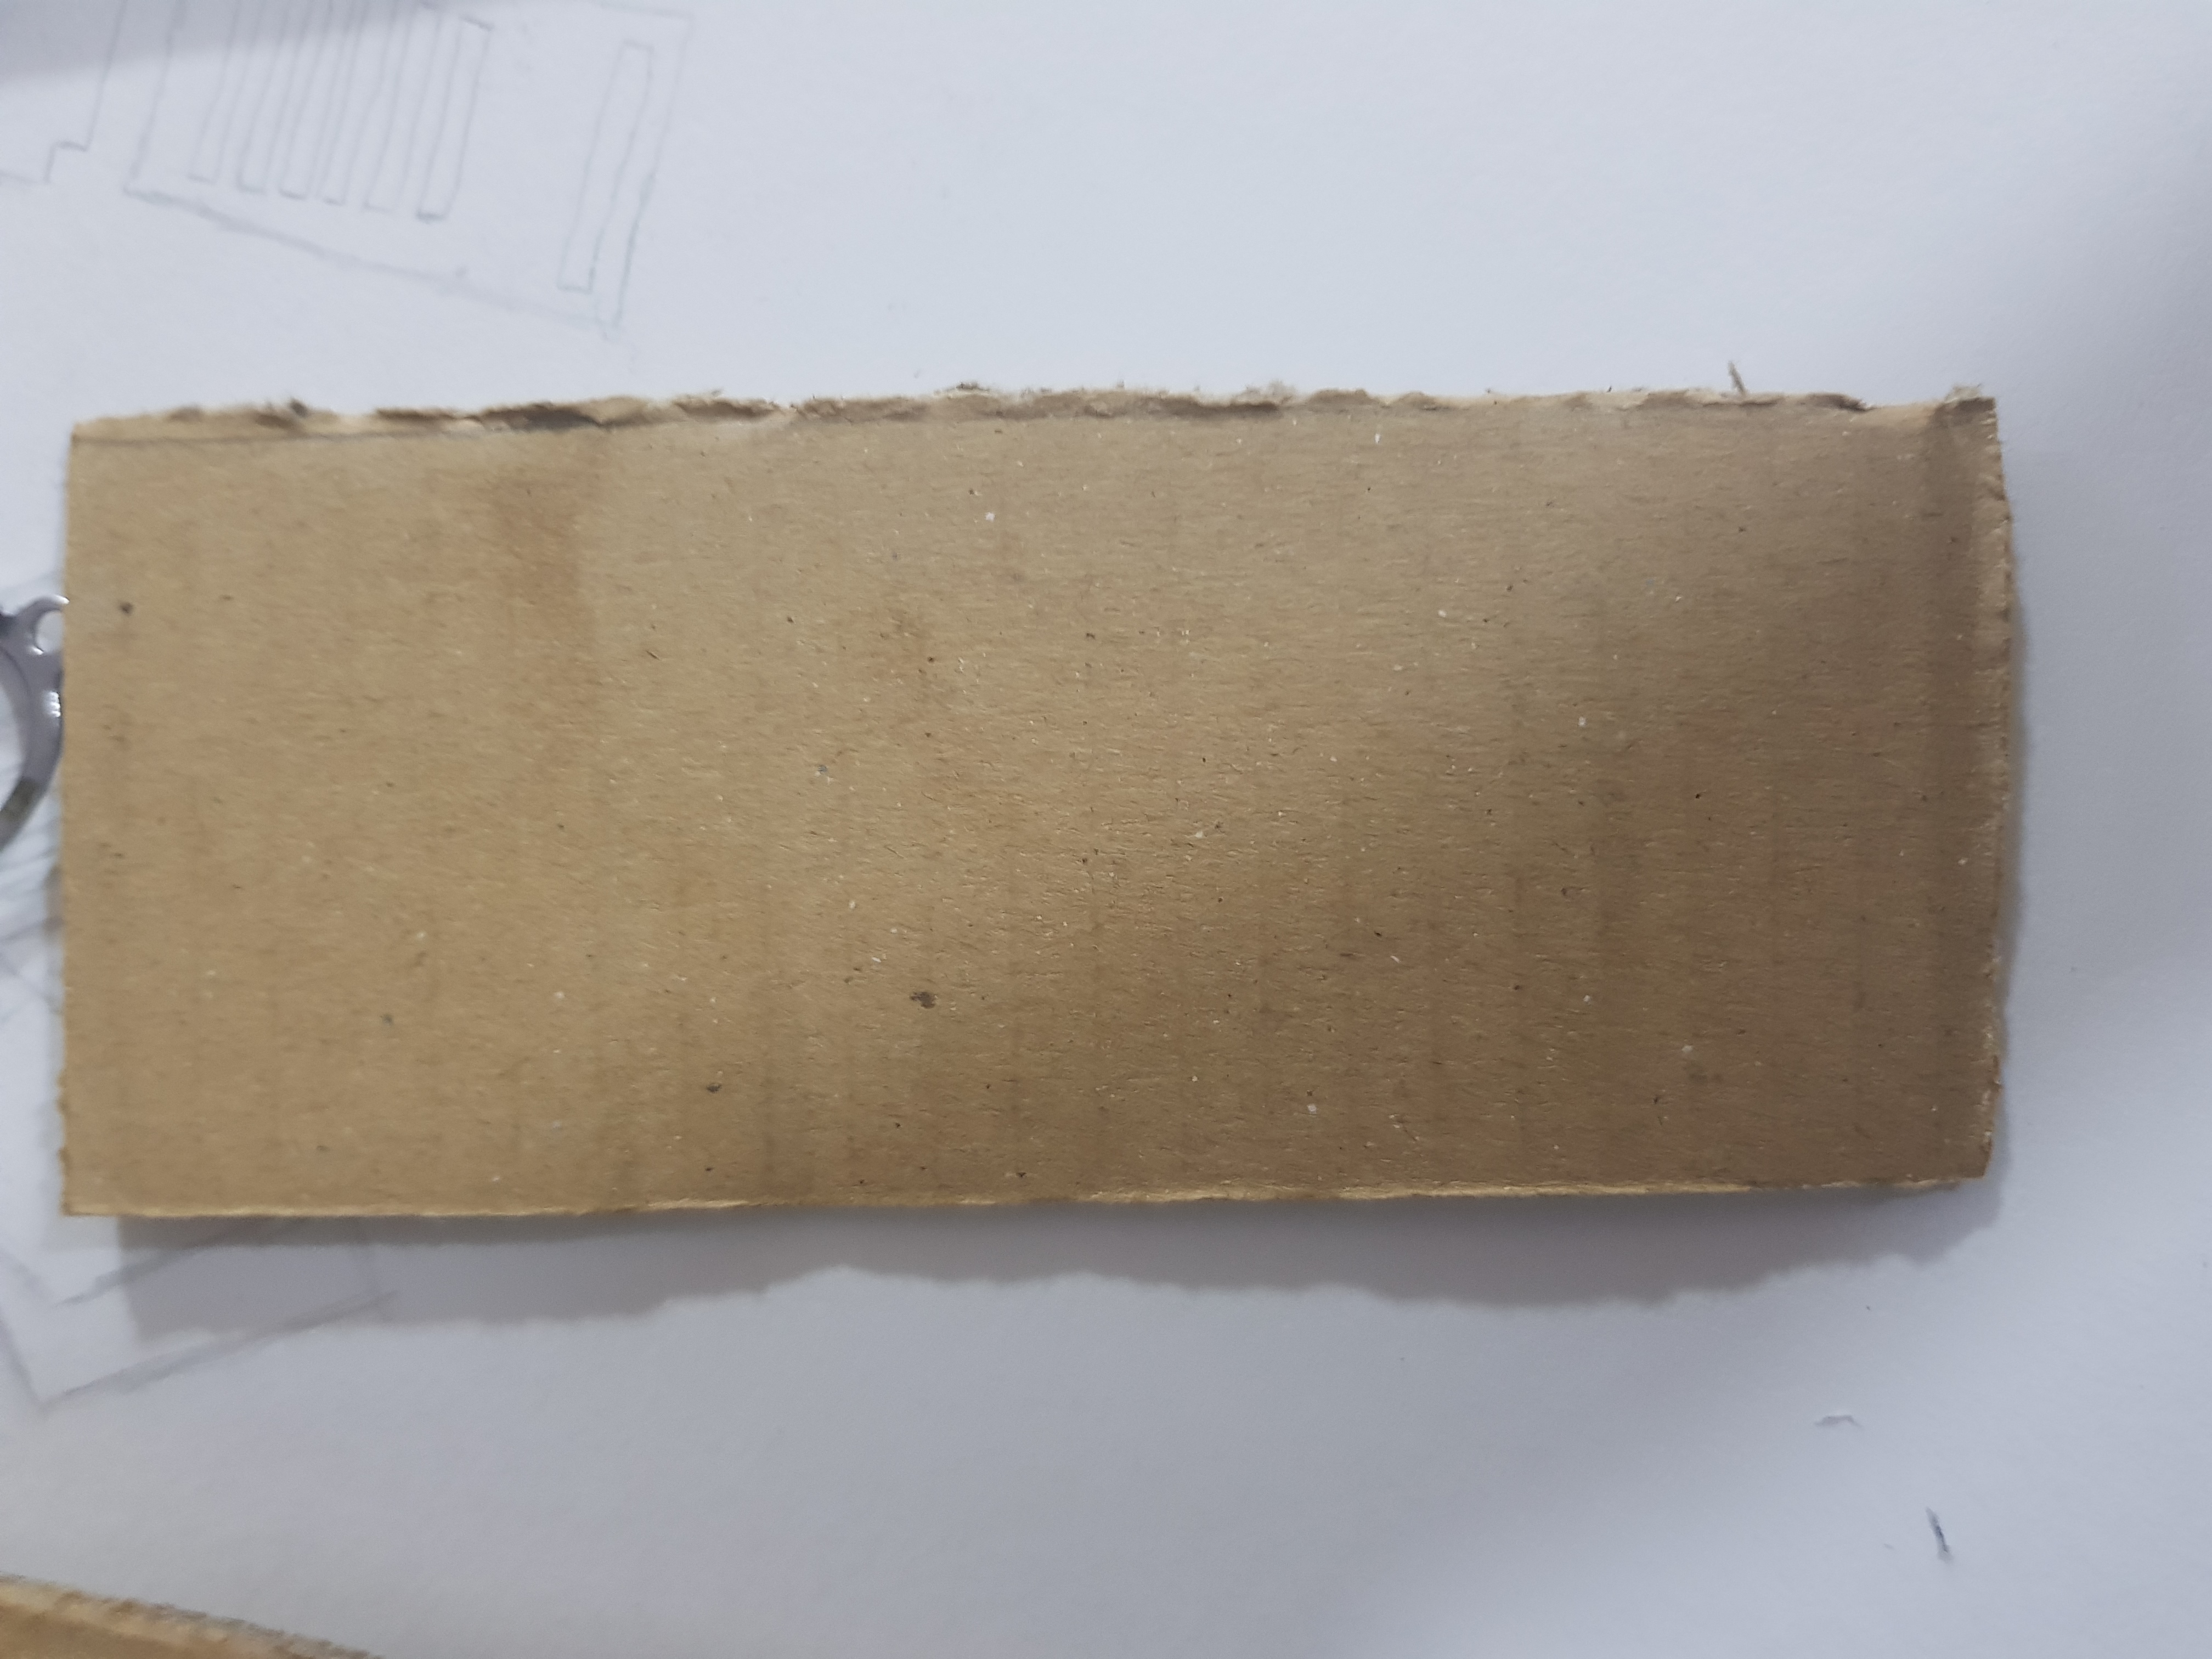
The second step is to cut out the pieces that you need
- Try to cut as close to the size you want as possible
- Try not to bend the cardboard too much as it may affect your build
3rd step
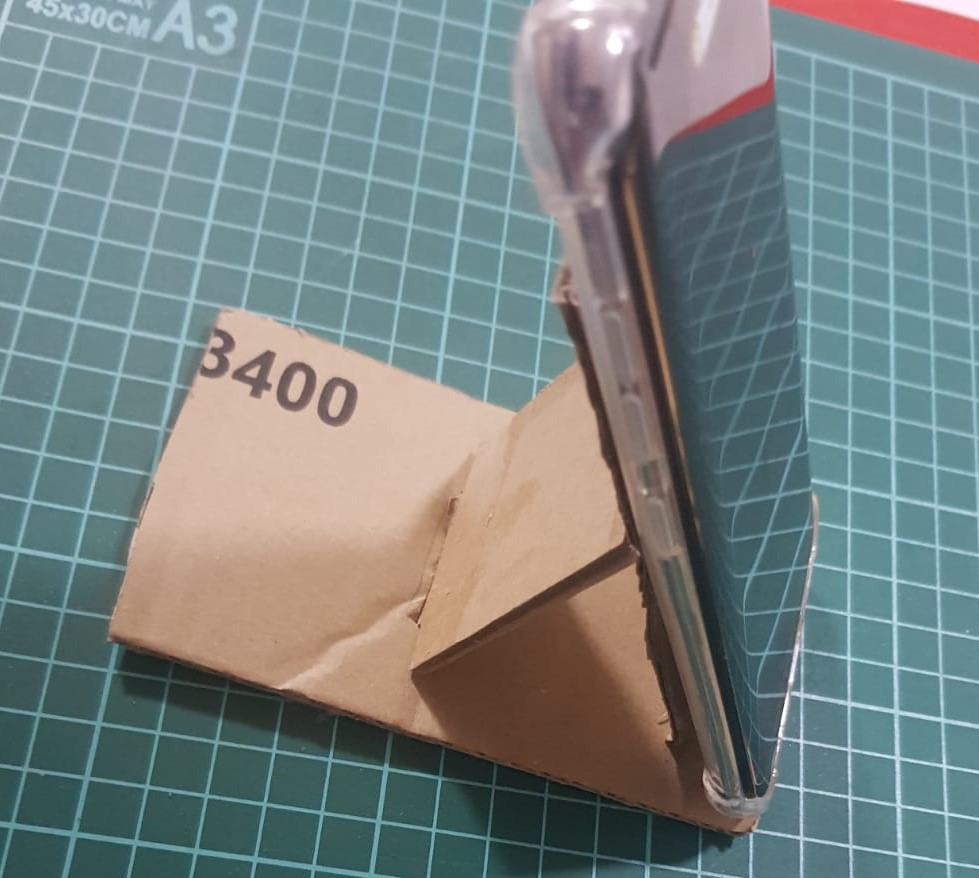
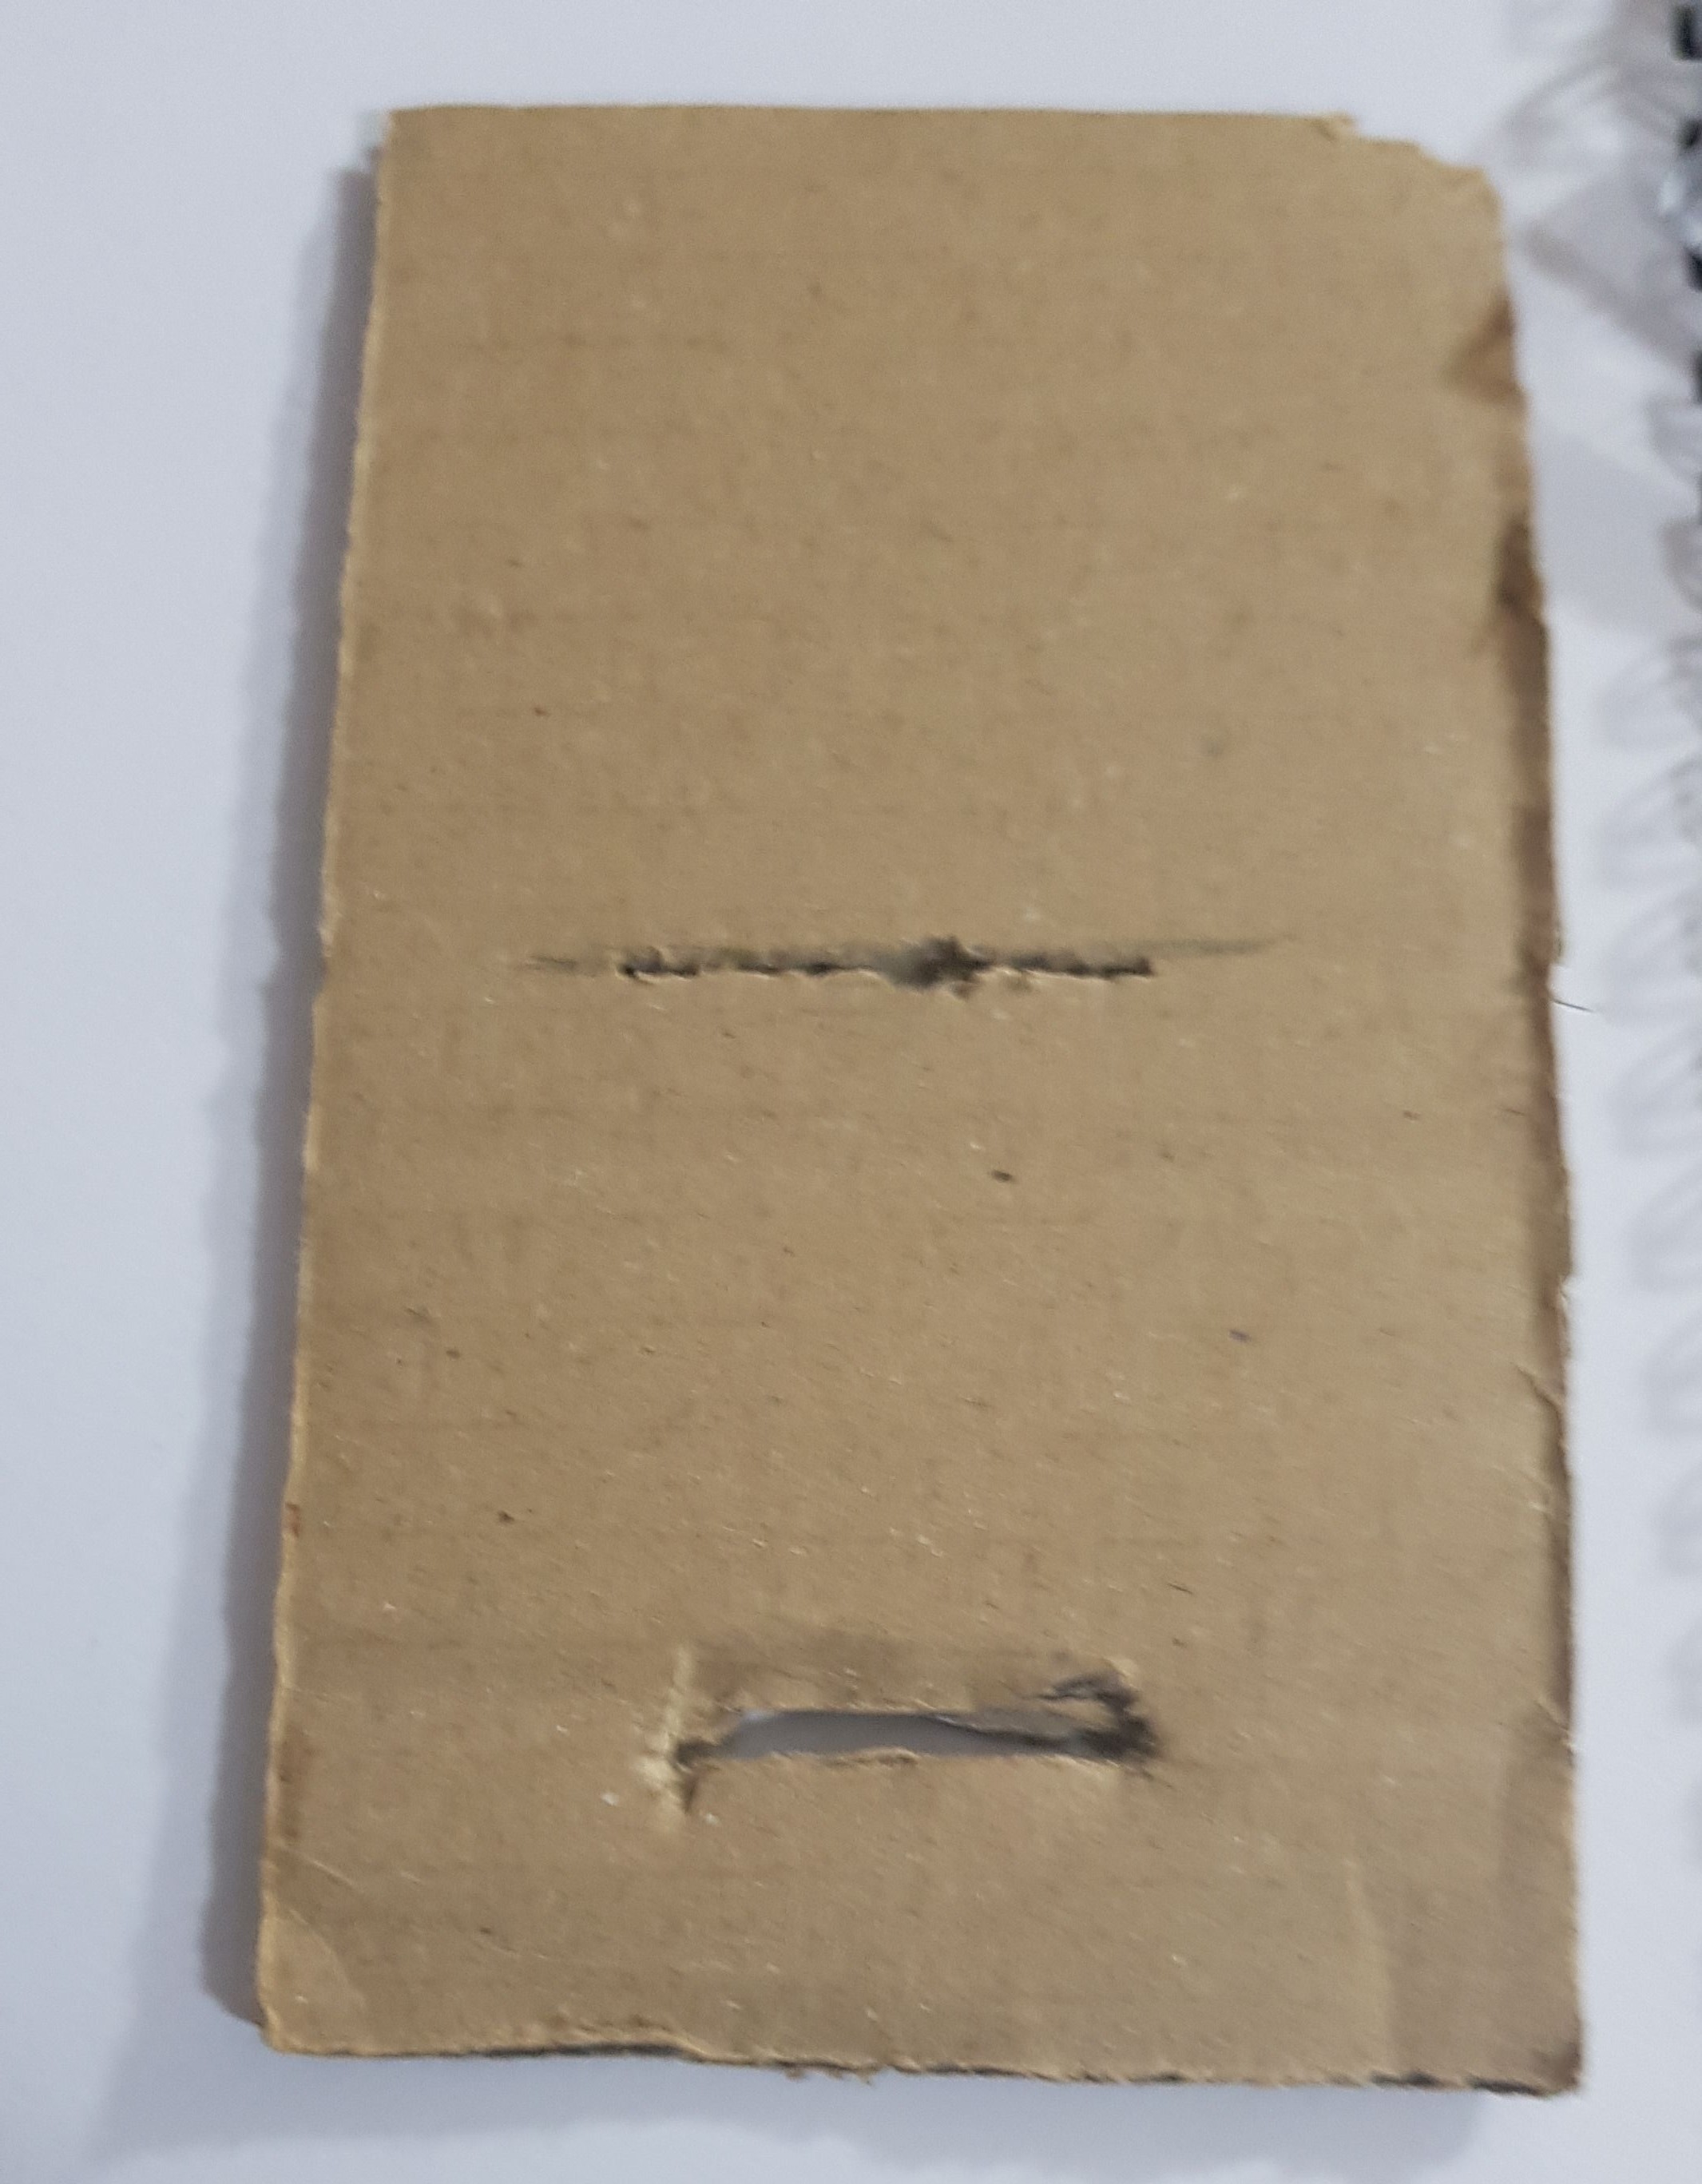
The third step is to make sure the pieces are able to fit into each other
- make sure that the pieces are close fit so that the pieces are not too loose
- If it is too big, cut some parts out for it to fit
- If it is too small, cut another piece of a bigger size
4th step
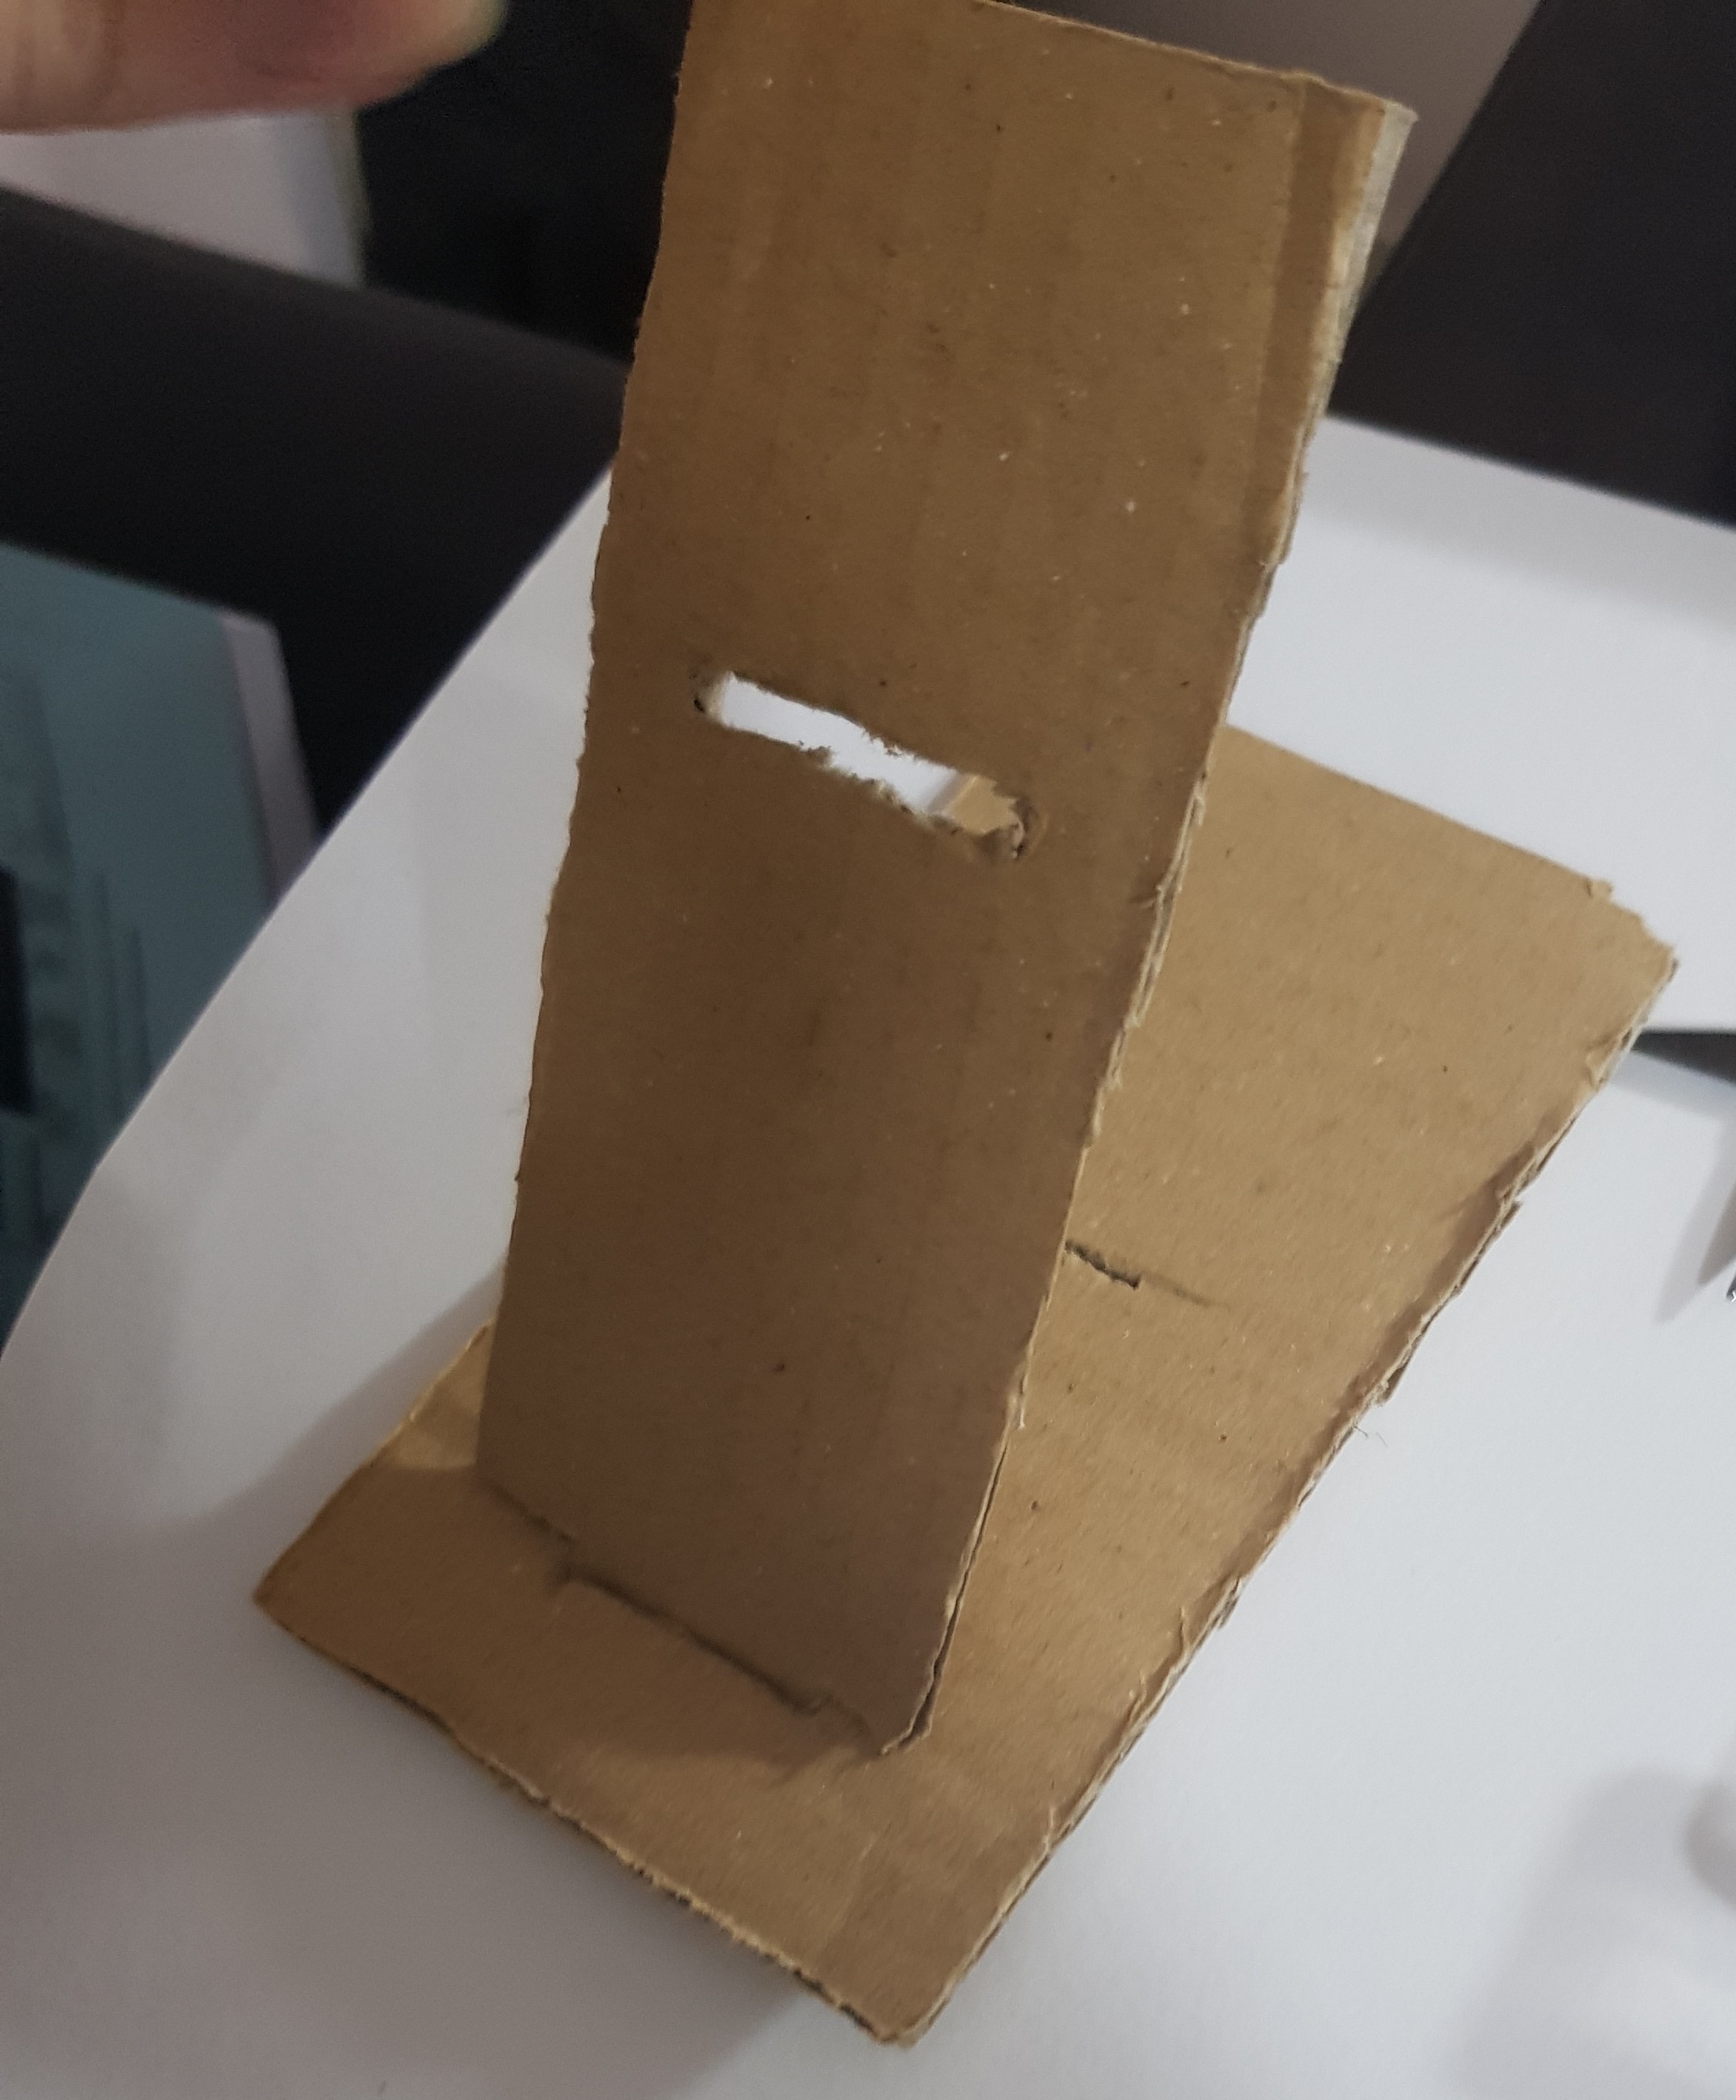
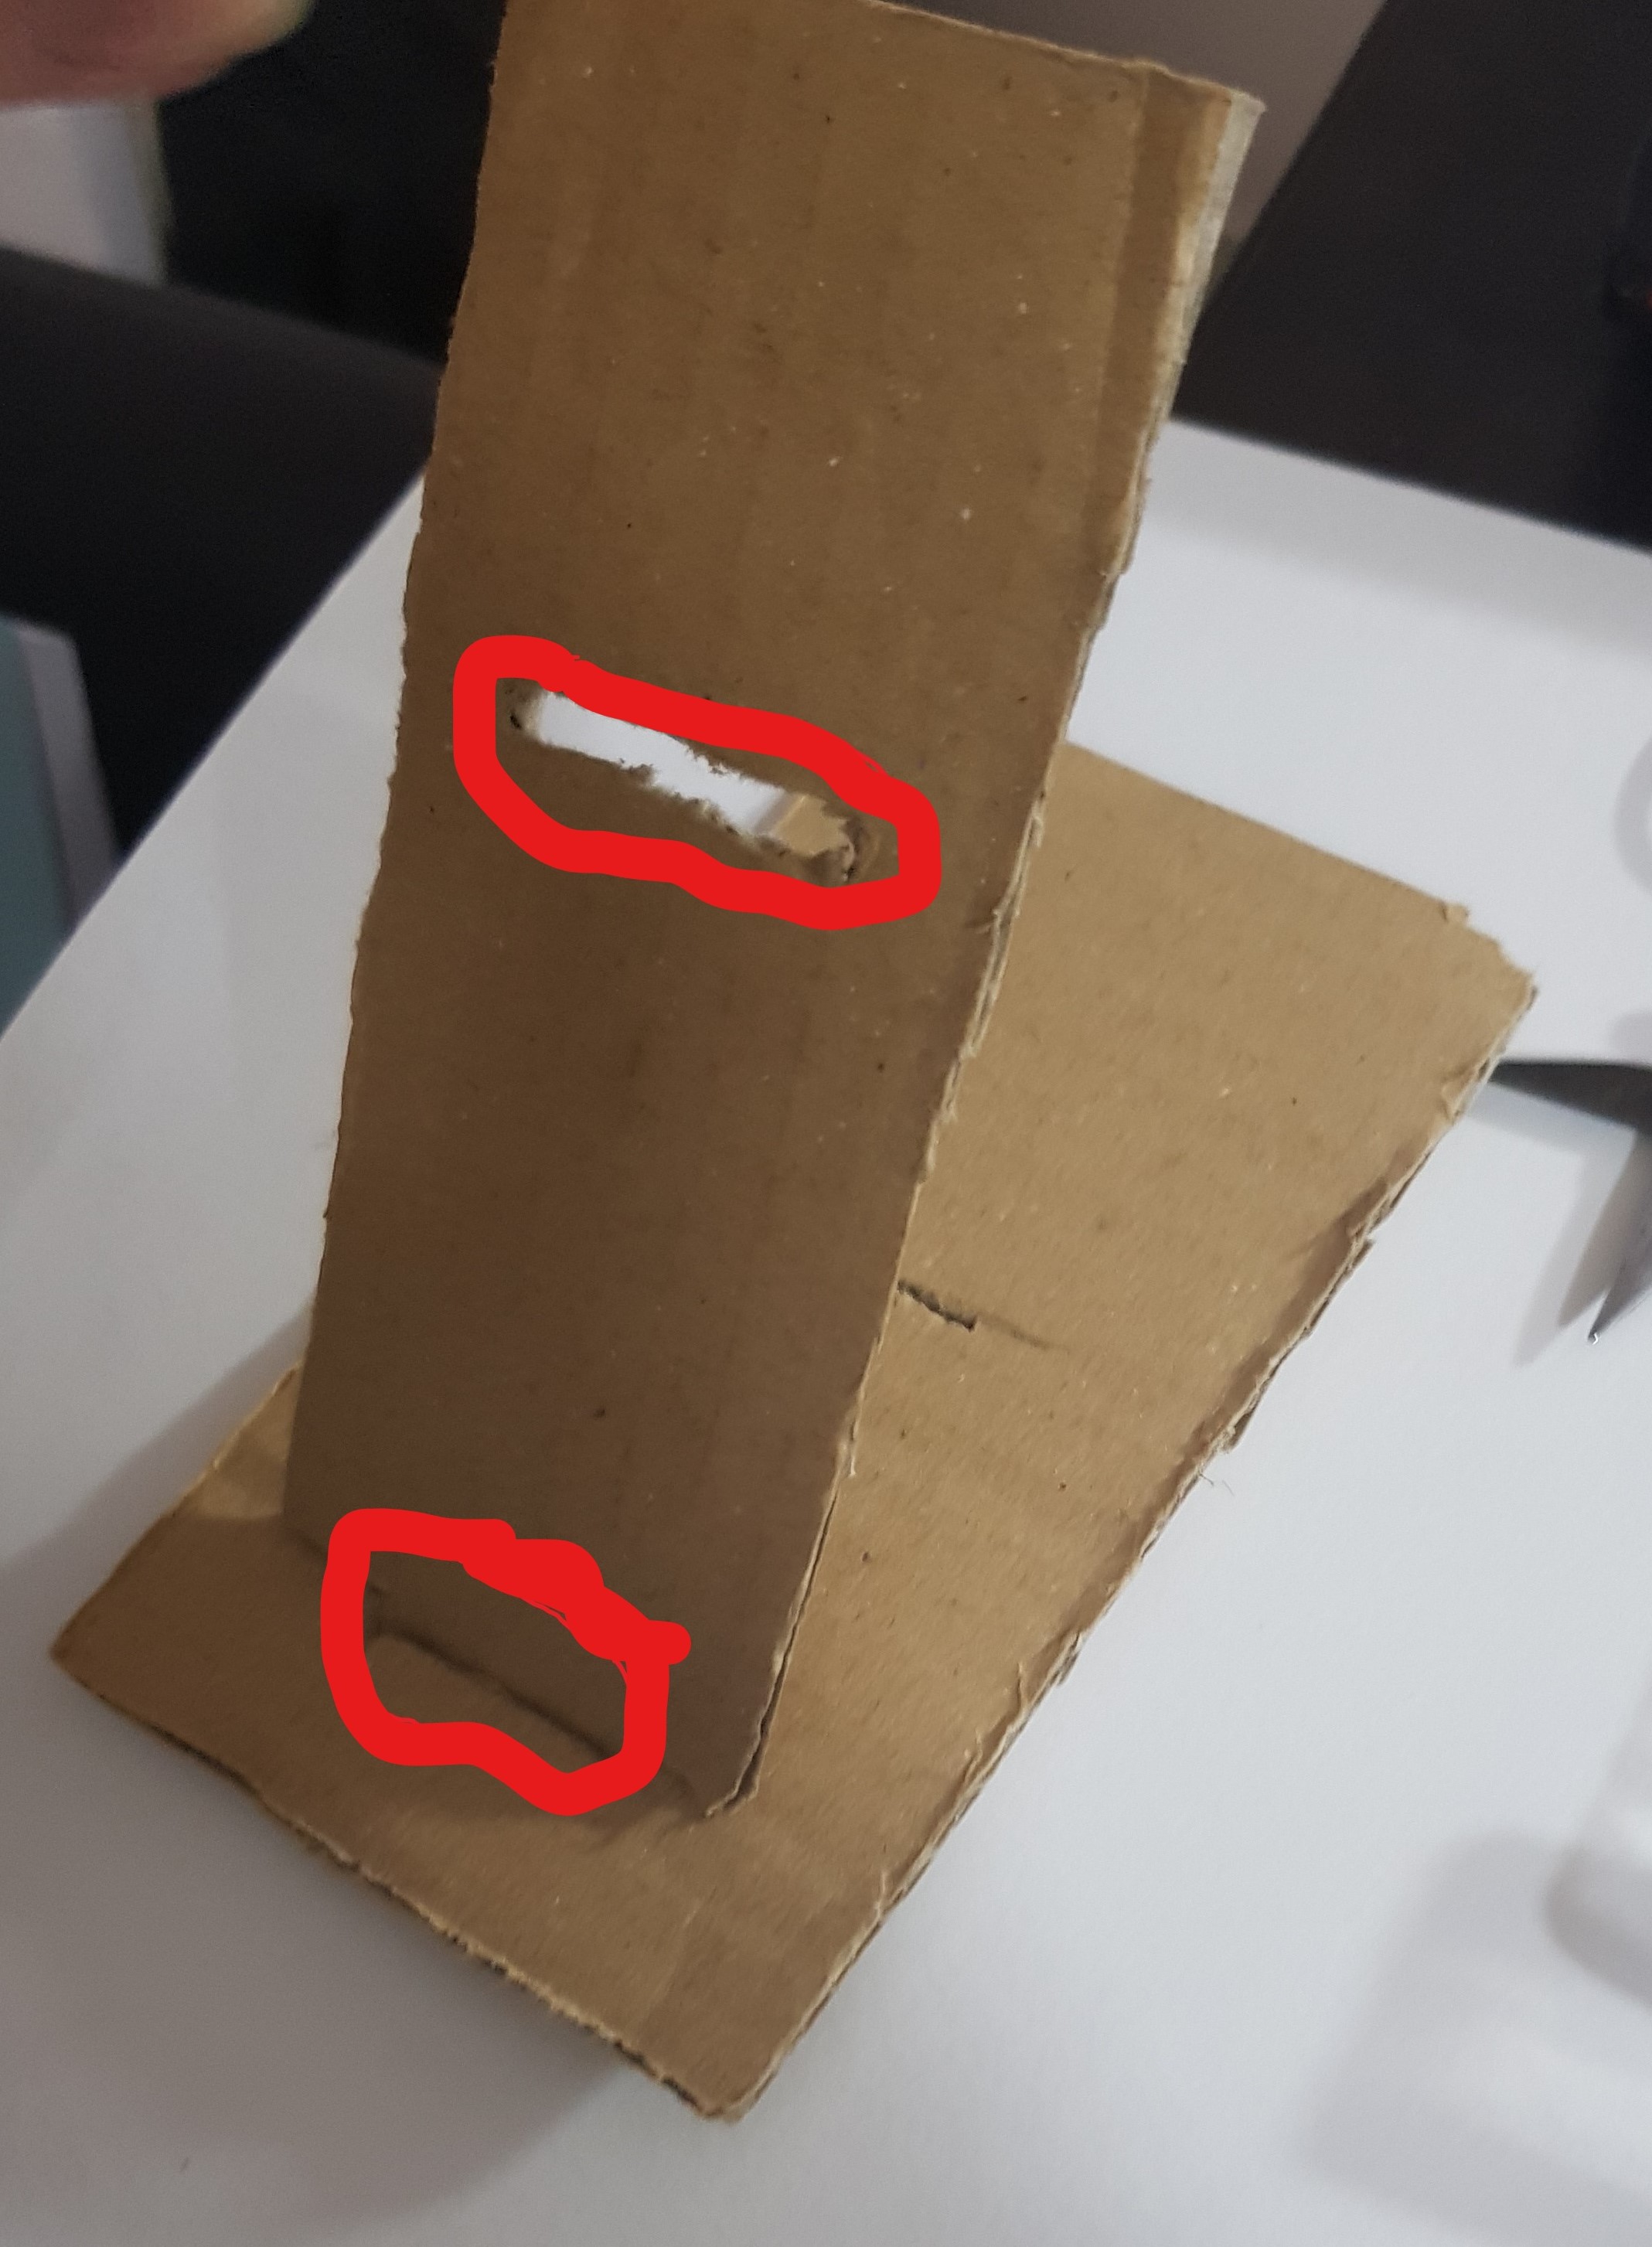
The fourth step is to glue the pieces together (for the unmovable parts)
- I used hot glue instead of UHU glue
- Certain adhesives may not work on cardboard
- The parts I circled in red below are the parts I glued
- Do find the strong part of the cardboard as they are needed to make sure that the product can support
- do not bend the cardboard as it will make it flimsy and may not work as a support
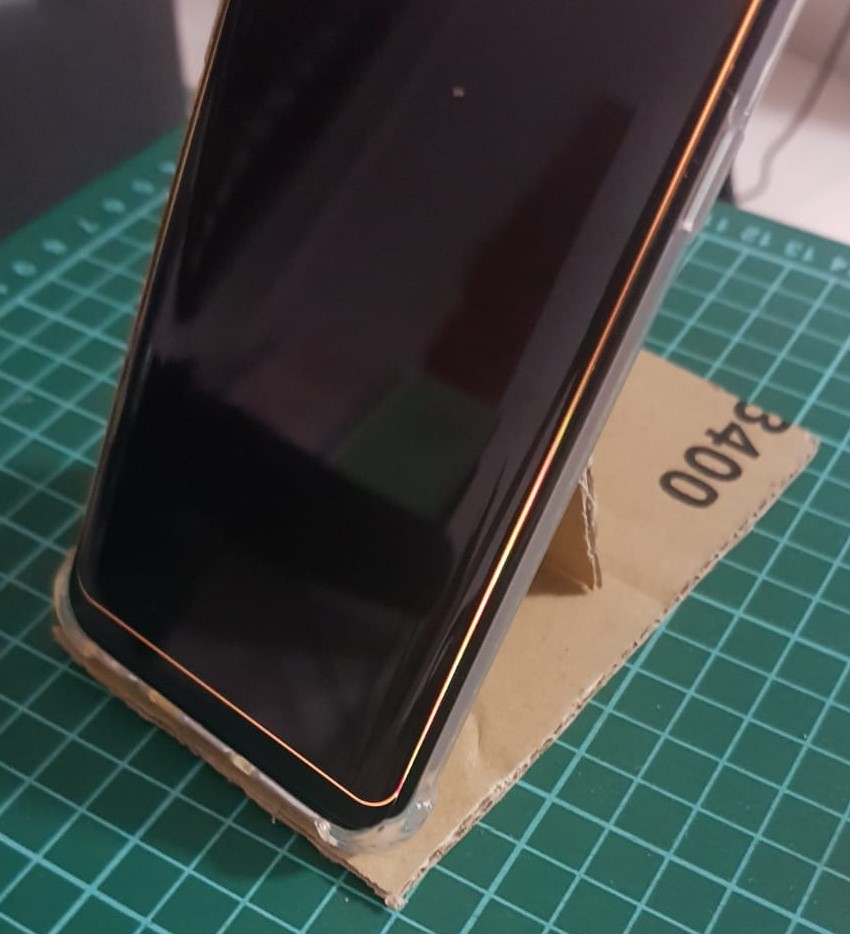
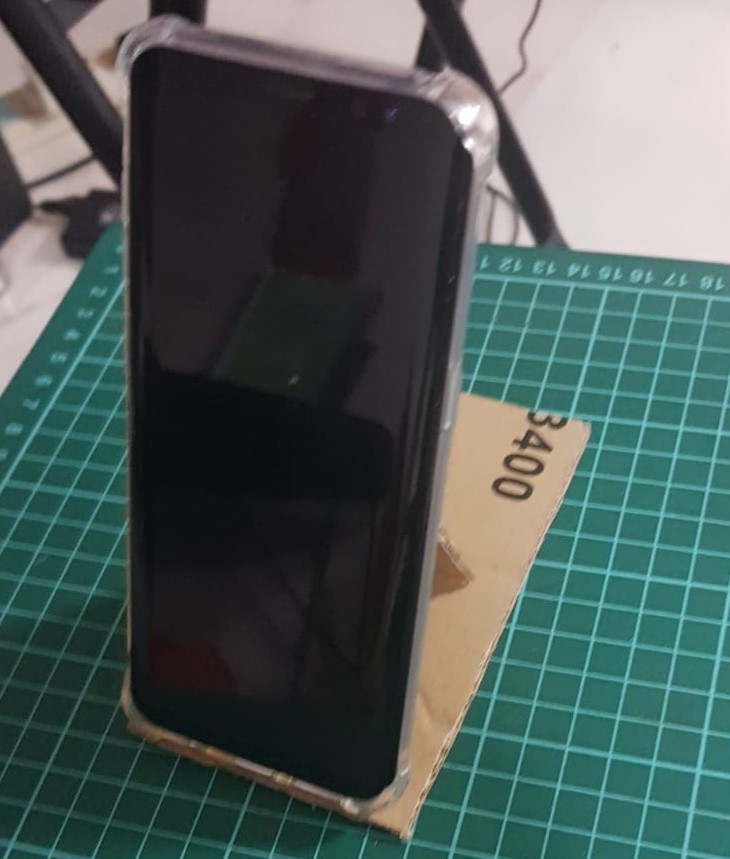
Done
And this is the end of the guide on making a phone stand, do take your photos on the product you made and document it if you have to.
Below are pictures of my finished product